Watch this short video to learn more about organizing your inbox:
Outlook Inbox
Try it!
In Outlook, you can add a flag, set a reminder for a flagged email, and assign a color category to an email message to organize your inbox.
Set a Follow Up flag
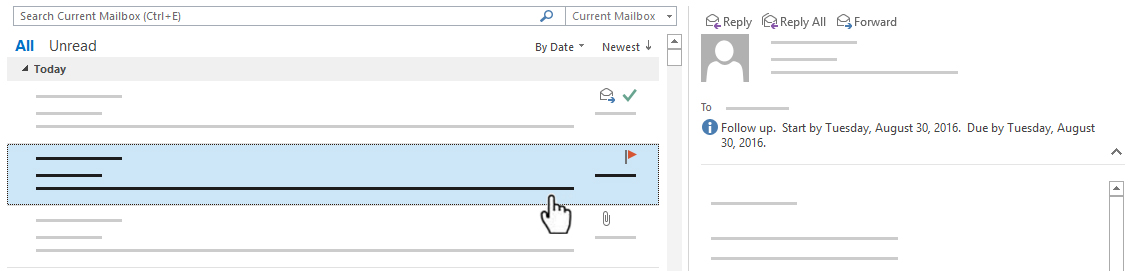
Select the email message.
Select the
 .
.
The flag turns red and a Follow up message appears in the header of the email message.Note: Follow Up flags are used for actionable items only.
 .
.
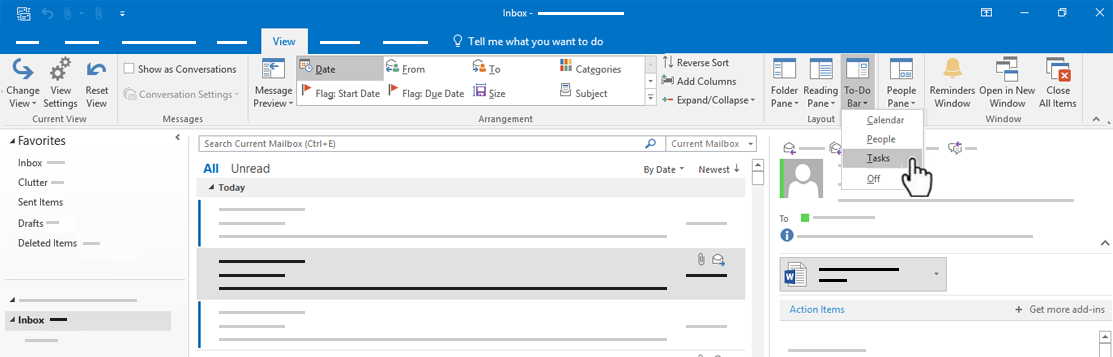
View all Follow Up Flags
Select View >To-Do Bar >Tasks.
The To-Do Bar pane opens and shows all flags.
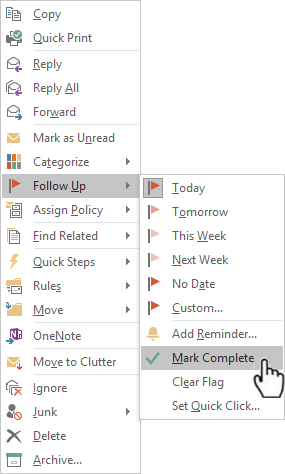
Remove a Follow Up Flag
Right-click the email message.
Select Follow Up > Mark Complete.
The Follow Up Flag changes to a green checkmark and is removed from the To-Do Bar.
Set a Reminder
Select the email message for which you want to set the reminder.
Select Home >Follow Up > Add Reminder.
In the Custom box, for Flag to, select Follow up or type a description.
Check the Reminder box, enter date and time, and then select OK.
An alarm bell
icon will appear on the message.To change the time for the reminder, select Follow Up, select Add Reminder, edit the time, and then select OK.
 icon will appear on the message.
Find an Action Item
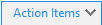
If Outlook finds something in an email that looks like an action item, an Action items tab
automatically appears on the reading pane.Select the Action Items drop-down arrow to read the action item, and then select FOLLOW UP if you’d like to set a Follow Up Flag to remind you to do that action item.
Note: If you select FOLLOW UP, the action item displays in the To-Do Bar pane.
When the task is done, mark it complete.
From the Action Items drop-down, select Mark Complete, or
In the To-Do Bar pane, right-click the flagged message and select Mark Complete.
 automatically appears on the reading pane.
Create color categories
Select Home > Categorize > All Categories.
To Rename a category color, in the Color Category box, select a color category, and then select Rename. Type an appropriate name for the selected category, and then press Enter.
To change the category Color, select the color you want from the Color drop-down
.To create a New color category, select New, type a name, select a color, and select OK.
When you are done with Color Categories, select OK.
 .
.Assign an email a color category
Right-click an email message.
Select Categorize, and then select an appropriate color category for the message.
Follow us on social media for more tips on using Microsoft 365.