Let’s explore a few things you can do with your contacts in Outlook. In this post, we’ll learn how to share a single contact or all of them, create a contact group, create custom contact categories, and learn how to tag your contacts so you can easily (and more quickly!) communicate with your team.
Let’s begin by sharing a contact with other people. You can share a contact that you’ve created with your own information, or share other people’s information. You can also share all of your contacts at once.
Share a Single Contact
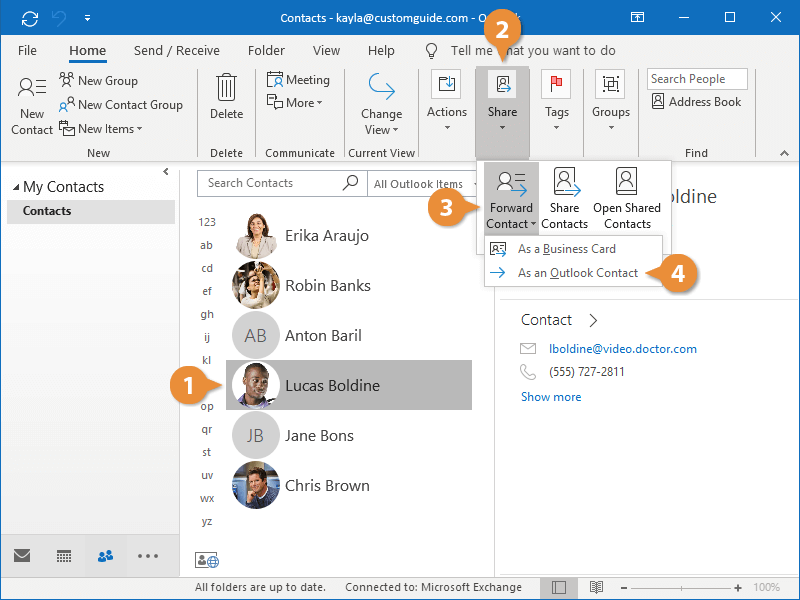
First, you can share a single contact with someone else.
- Select a contact.
- Expand the Share group on the Home tab, if necessary.
- Click the Forward Contact button.
- Select a format.
- Business Card: (Recommended) Sent in VCF or vCard format, which is understood by most email programs.
- Outlook Contact: Sent in a format that can be easily read by Outlook Exchange users but not by other email programs.
- Address and compose the email, then click Send.
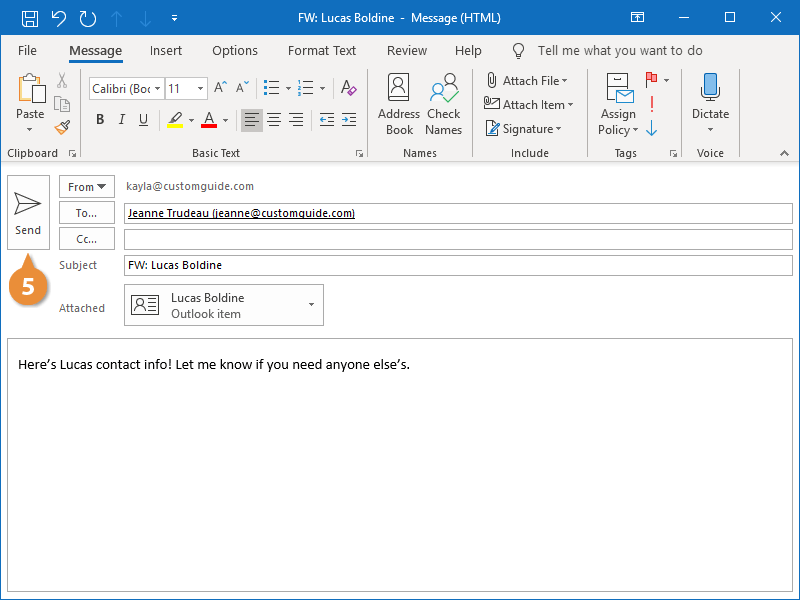
The contact is sent as an email attachment.
Share All of Your Contacts
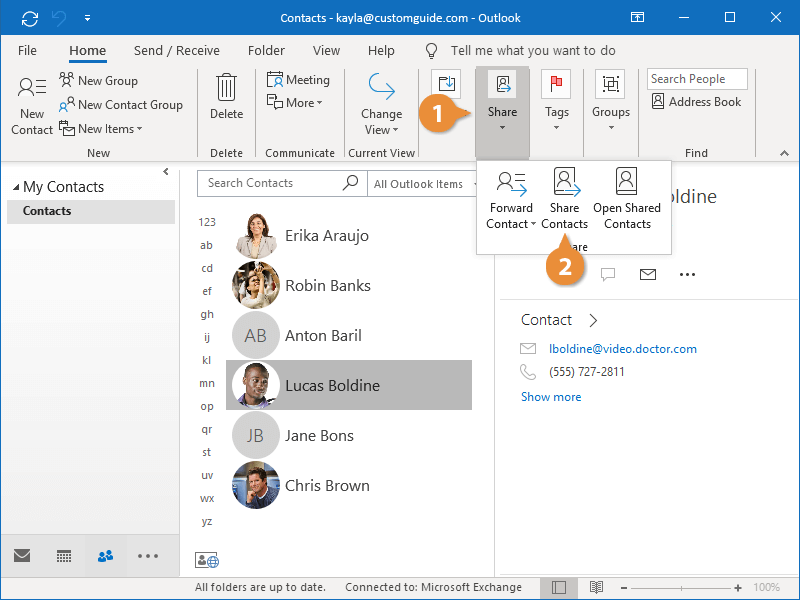
You can also share your entire Contacts folder with someone.
- Expand the Share group on the Home tab, if necessary.
- Click the Share Contacts button.
A new email is created, ready to send an invite to view your Contacts folder.
- Address and compose the email, then click Send.
Outlook will confirm that you’re sure you want to share your entire Contacts folder with everyone you invited.
- Click Yes.
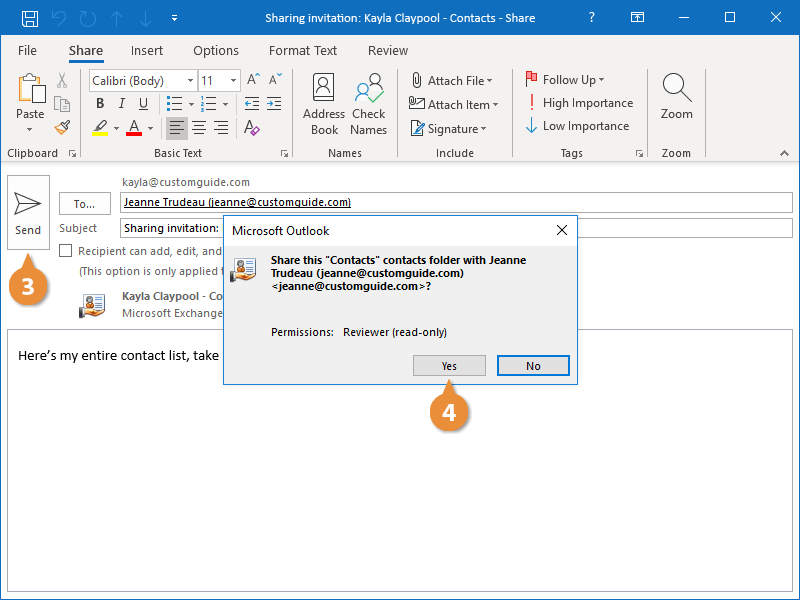
Everyone who receives that email will be able to view your entire Contacts folder.
Contact groups let you group several people together, so that you can email them all at once.
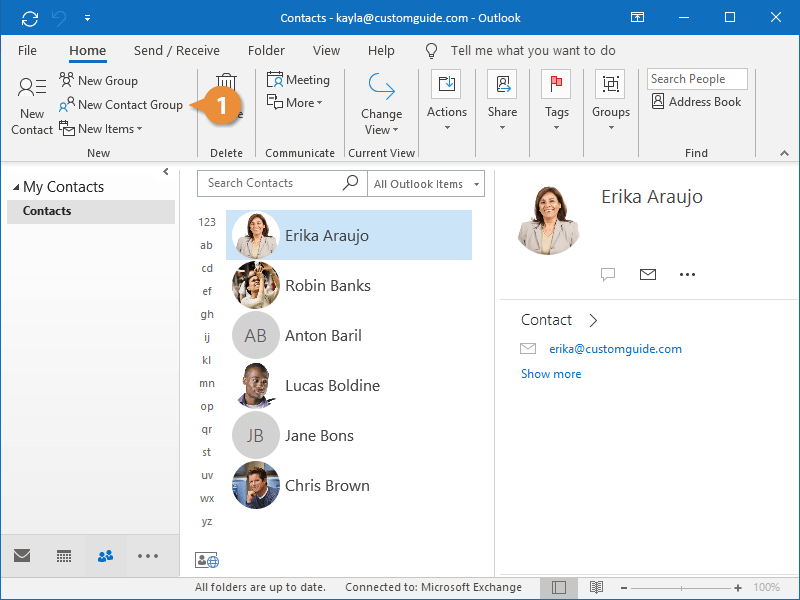
Create a Contact Group
- Click the New Contact Group button.
A blank New Contact Group window appears.
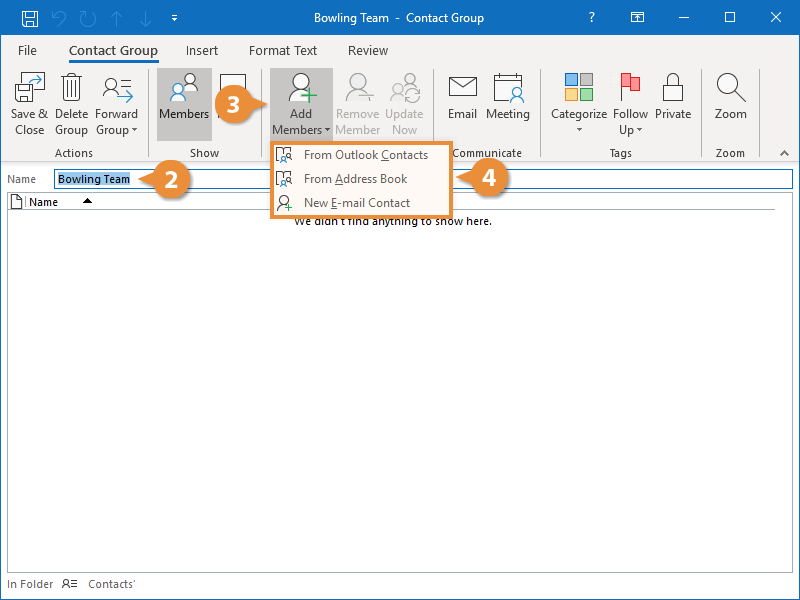
- Name the contact group.
- Click Add Members.
- Select a contact source.
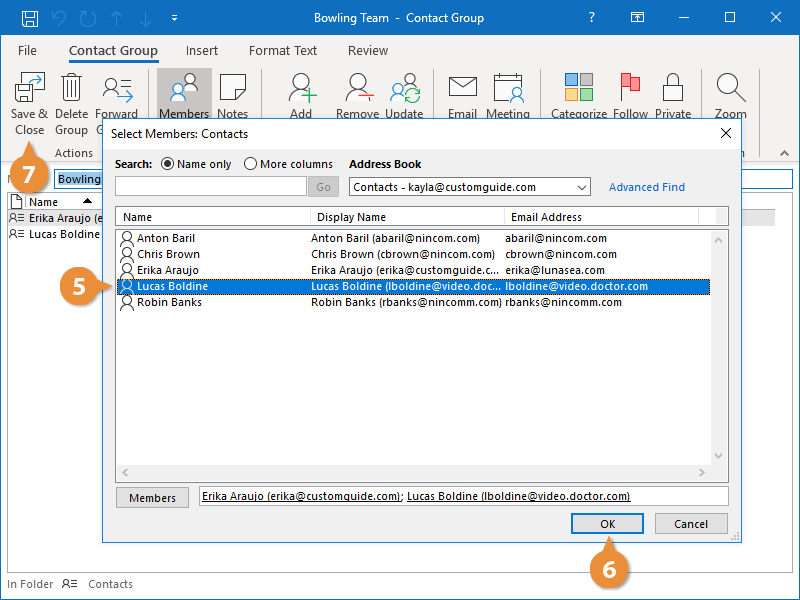
- Double-click the contacts you want to add.
The name and email address of the contacts you add are shown in the Members field.
- Click OK.
- Click Save & Close.
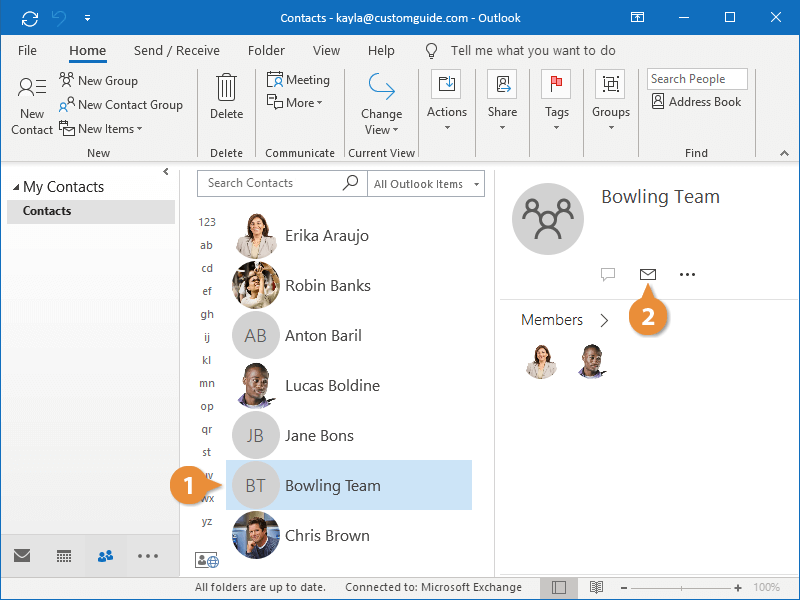
The new contact group is saved and will appear within your contacts list.
Communicate with a Contact Group
Communicating with a contact group is just as easy as communicating with a single contact.
- Select a contact group.
- Click Email.
The name of the contact group appears in the To field, just like a single contact’s name would.
- Compose the message, then click Send.
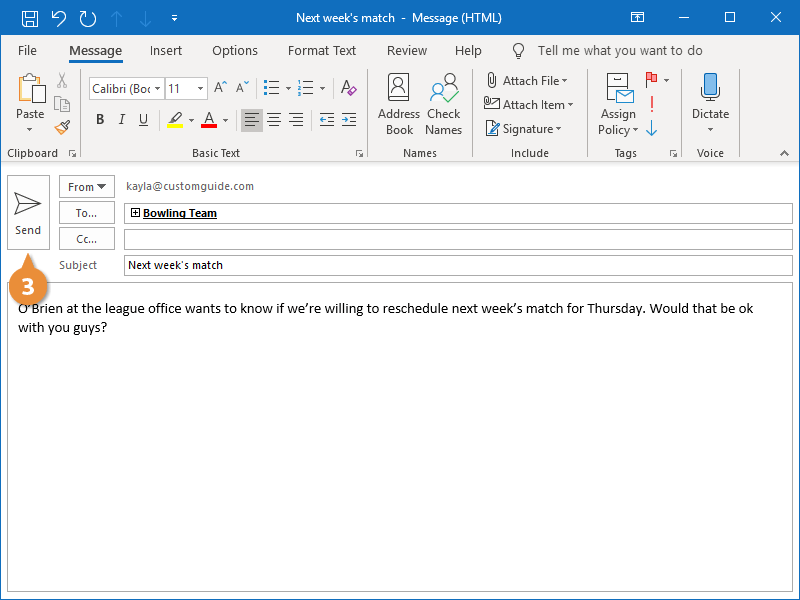
The email is sent to everyone in the contact group at once.
When creating an email, you can just enter the group name in the To field like you would with a single contact.
You can add tags to contacts, so you can quickly find the one you’re looking for.
Create Custom Categories
By default Outlook’s categories are given rather generic names, but you can easily edit these or create your own. You can use categories to better organize and group your contacts—for example, you might create Work and Personal categories.
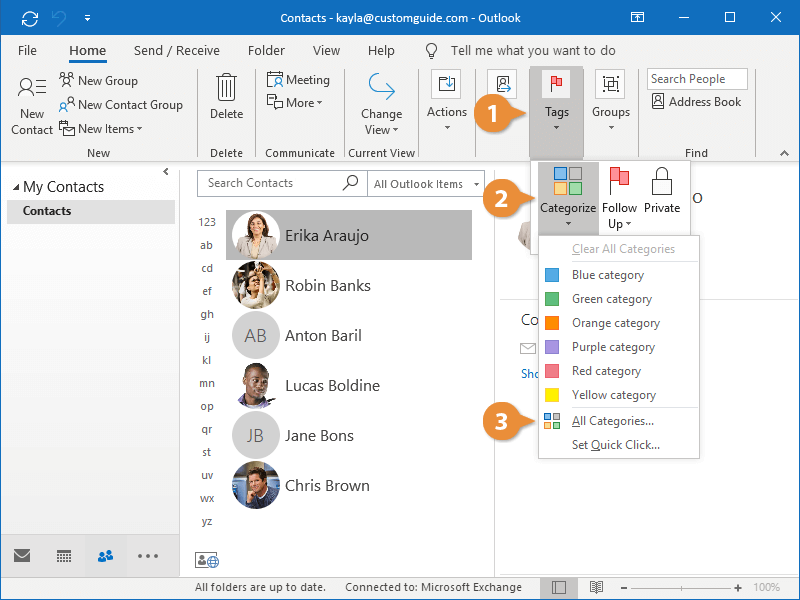
- Expand the Tags group, if necessary.
- Click Categorize on the ribbon.
- Select All Categories.
Here, you can rename the existing categories to fit your needs or create a new category.
- Click New.
- Type a name for the new category.
- Click the Color list arrow.
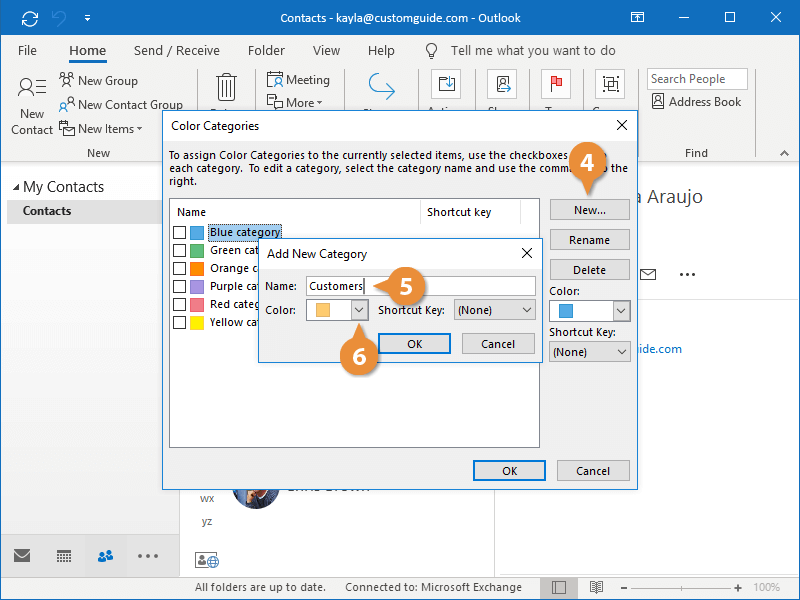
- Select a color.
- Click OK.
- Click OK again.
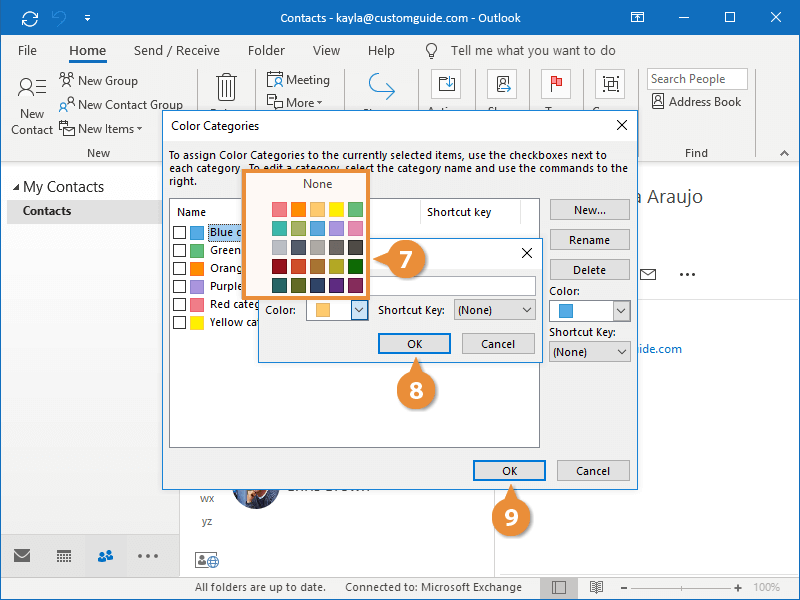
A new category has been created.
Apply a Tag
Once you have some categories that you want to use, you can apply them to contacts.
- Select a contact to tag.
- Expand the Tags group, if necessary.
- Click the Categorize button.
- Select a category.
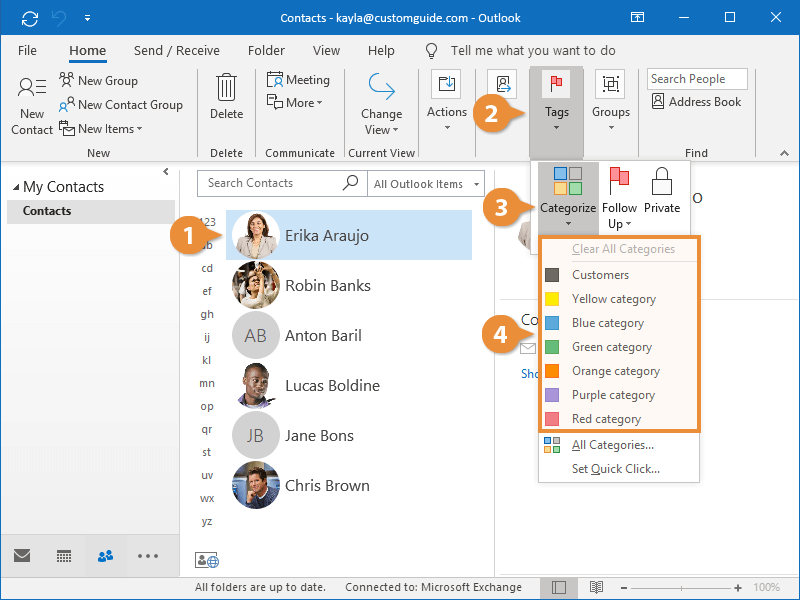
The contact is now tagged in the new category.
You can apply multiple categories to the same contact. For example, a relative who works with you might be tagged as both Business and Family.
Search for Tags
Categories can make searches much easier.
- Click in the Search field.
- Click the Categorized button from the Search Tools tab.
- Select the category you want to see.
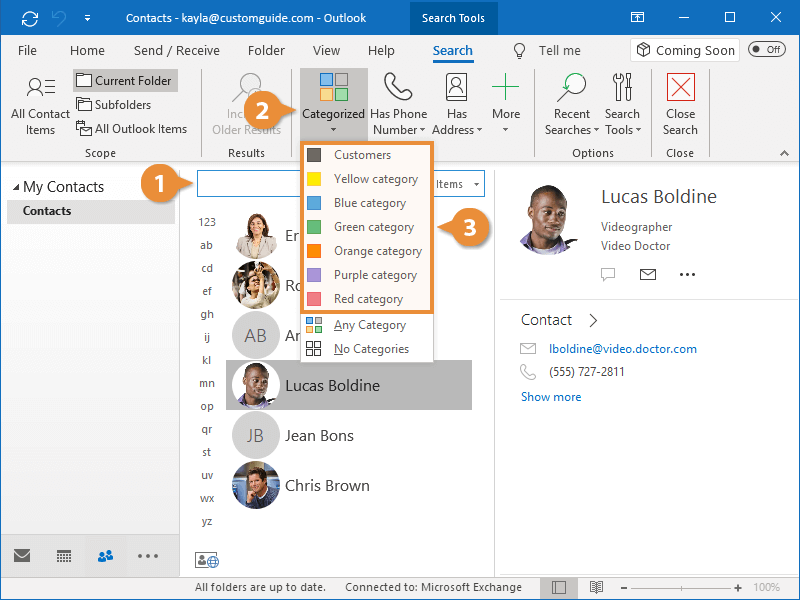
The contacts are filtered to show only those tagged with the category that you’re looking for.
Customizing your Outlook can improve productivity and save valuable time while working on emails. For more Outlook training, keep checking our posts under News and Insights on our webpage!